Introduction
Whether you’re developing a new 2D game in Godot or enhancing an existing project, understanding how to add a camera child to a player can significantly improve your game’s feel and functionality. Using the Camera2D node effectively will ensure that the camera follows your player character seamlessly. This guide will walk you through the necessary steps to achieve this using Godot scripting, allowing you to create dynamic and engaging gameplay.
Getting Started with Godot 2D
Before diving into adding a Camera2D node, it’s important to have a solid grasp of the Godot game engine and its unique features. Godot is an open-source game engine that’s becoming increasingly popular due to its robustness and flexibility, particularly in 2D game development.
- Download and Install: Ensure you have the latest version of Godot installed on your computer. You can download it from the official Godot website.
- Create a New Project: Open Godot and create a new project by selecting ‘New Project’. Name your project and choose a directory where the project files will be stored.
- Add Your Player Node: Once your project is set up, add a player node (like KinematicBody2D or RigidBody2D) to represent your player character.
Next, we’ll explore the specifics of the Camera2D node and how it integrates into the Godot environment.
Understanding Camera2D Node in Godot
The Camera2D node in Godot is a crucial component that determines what the player sees on the screen. It is essential for creating a player-centric experience.
- Basic Purpose: The Camera2D node helps to center the game’s view around the player or any other node. It maintains the player’s visibility within the game’s viewport.
- Viewport Adjustments: It enables smoother movements and zooming effects, essential for various gameplay scenarios such as platformers or top-down adventures.
- Important Properties: Properties such as zoom, offset, and smoothing allow for fine-tuning the camera behavior to suit your game’s needs.
Now that you understand the basics, let’s add and configure a Camera2D node to our player.
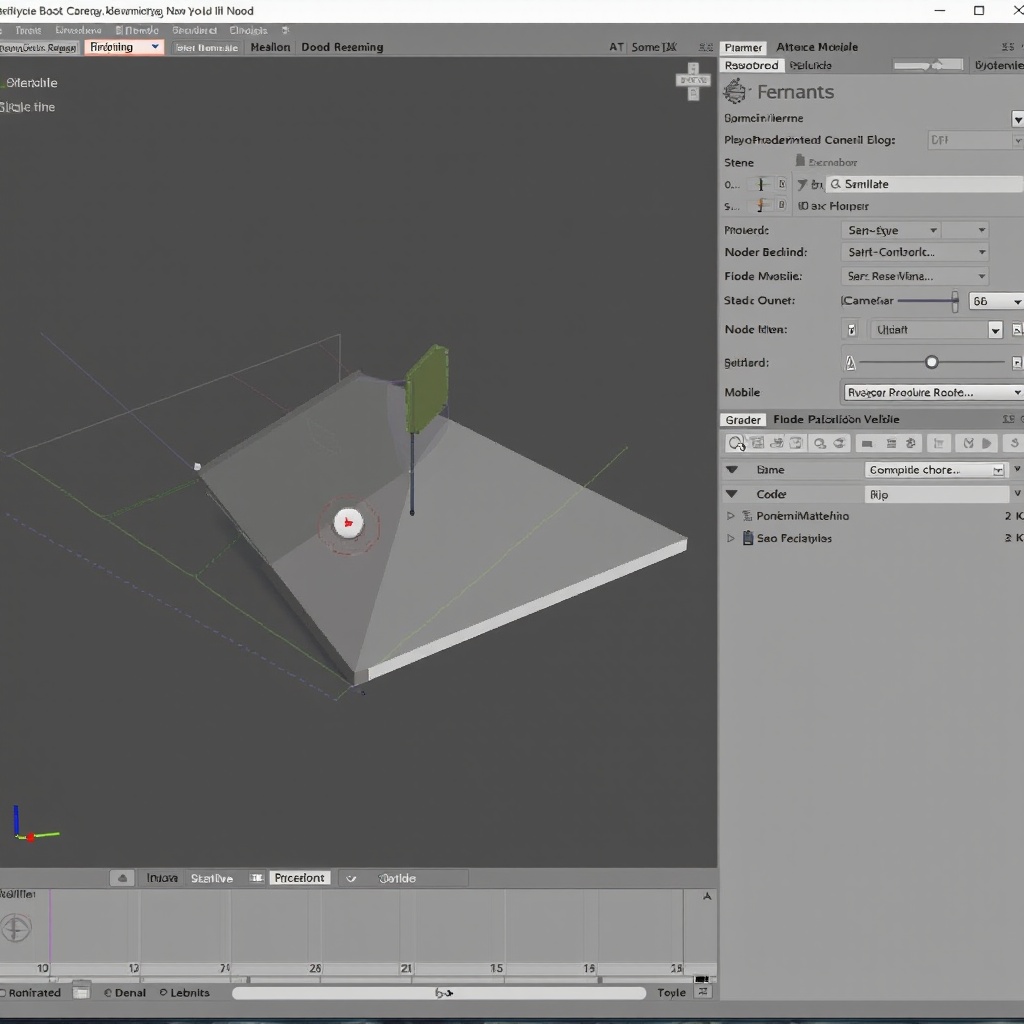
Adding and Configuring a Camera2D Node
To attach a Camera2D node to your player character, follow these steps:
- Add the Camera2D Node:
- Select your player node in the scene tree.
-
Right-click on the player node, select ‘Add Child Node’, and choose ‘Camera2D’.
-
Configure Basic Properties:
- Current Property: Set the ‘Current’ property of the Camera2D node to ‘On’ to make it active.
- Zoom: Adjust the ‘Zoom’ property to set how close or far the camera will be from the player.
-
Limits: Define the range within which the camera can move. This prevents the camera from showing unwanted areas off the map.
-
Enable Smoothing: Toggle the smoothing option to enable smoother transitions and following movements. This ensures the camera doesn’t jerk as the player moves.
In our next section, we’ll look at scripting the camera to follow the player precisely and smoothly.
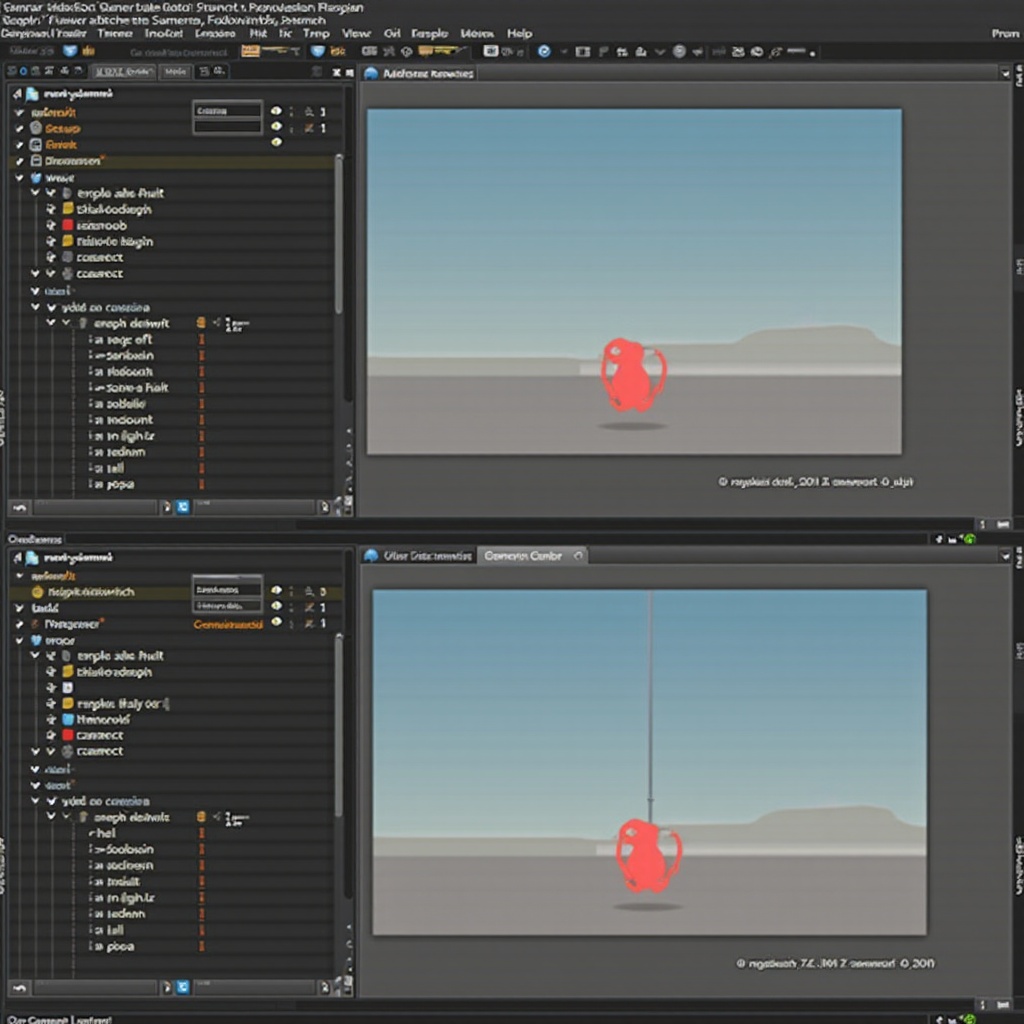
Scripting the Camera to Follow the Player
To script the Camera2D to follow the player, use the following steps and code snippets:
- Attach Script to Player:
-
Select your player node, and attach a new script by clicking on the ‘Add Script’ button.
-
Add Camera Control in Script:
- Use the following GDScript code to ensure the camera continuously follows the player:
“`gd
extends KinematicBody2D
var camera: Camera2D
func _ready():
camera = $Camera2D
camera.current = true
3. **Update Camera Position**:gd
- Make sure that the camera updates its position whenever the player moves:
func _physics_process(delta):
camera.global_position = position
“`
This code ensures that your Camera2D node’s position always follows the player’s position. Now, let’s take a look at some advanced techniques and customizations you can apply to your camera setup.
Advanced Camera Techniques and Customizations
After setting up the basic camera follow functionality, you can customize it to enhance your gameplay experience.
- Camera Shake: Add an effect to simulate shaking (e.g., during explosions). This can be done by slightly offsetting the camera’s position randomly or using AnimationPlayer.
- Zoom Effects: Adjust the zoom level dynamically in response to game events like entering new areas or combat.
- Focus Targets: Make the camera focus on different targets depending on the gameplay scenario using scripting logic to switch targets dynamically.
With these advanced techniques, your game can offer a more engaging and visually appealing player experience. However, there can be challenges, so let’s focus on troubleshooting common issues.
Troubleshooting Common Issues
- Camera Not Following Player: Ensure the Camera2D node’s ‘Current’ property is set to ‘On’.
- Jittery Camera Movement: Enable the ‘Smoothing’ option to alleviate jittering.
- Camera Not Visible: Verify that the Camera2D node is within the scene’s node hierarchy and is not disabled.
Conclusion
Adding and configuring a Camera2D node for following the player in Godot 2D can significantly improve your game’s user experience. By understanding and implementing the steps outlined, you can ensure a smooth, dynamic camera system that enhances player immersion.
Frequently Asked Questions
How do I make the camera follow the player smoothly in Godot?
Enable the ‘Smoothing’ property on the Camera2D node and ensure your script updates the camera’s position during the _process or _physics_process functions.
What are some common issues when attaching a camera in Godot 2D?
Common issues include the camera not following due to the ‘Current’ property being off, jittery movement due to lack of smoothing, and the camera not rendering if it’s improperly parented or disabled.
Can I add multiple cameras to a single player in Godot 2D?
Yes, you can add multiple Camera2D nodes to a player and switch between them as needed using GDScript to change which camera is active.