Introduction
Imagine capturing the world around you with a camera you crafted yourself. Building a pinhole camera is an exciting project that offers a unique way to record images. Unlike digital photography, it harks back to the classic roots of image capturing, where precision and patience yield beautiful results.
This guide will take you through the process of building and using a pinhole camera. Whether you’re a photography enthusiast, a DIY lover, or a student eager to understand more about optics and photography, this guide is for you. So let’s dive into the fascinating world of pinhole cameras and get started on your creative journey.

What is a Pinhole Camera?
A pinhole camera is a simple device that uses a small aperture, instead of a lens, to project an inverted image onto a surface inside a light-tight container. This type of camera relies on the principle of camera obscura – the optical phenomenon where light passing through a small hole creates an upside-down image of the scene on the opposite side.
Pinhole cameras have been used for centuries and represent the very basics of photography. They don’t have the features of modern cameras, but what they lack in technology, they make up for in creative potential. This low-tech approach to photography can produce atmospheric and distinctive images that are a testament to the fundamental principles of light and optics.
Materials You Need to Build a Pinhole Camera
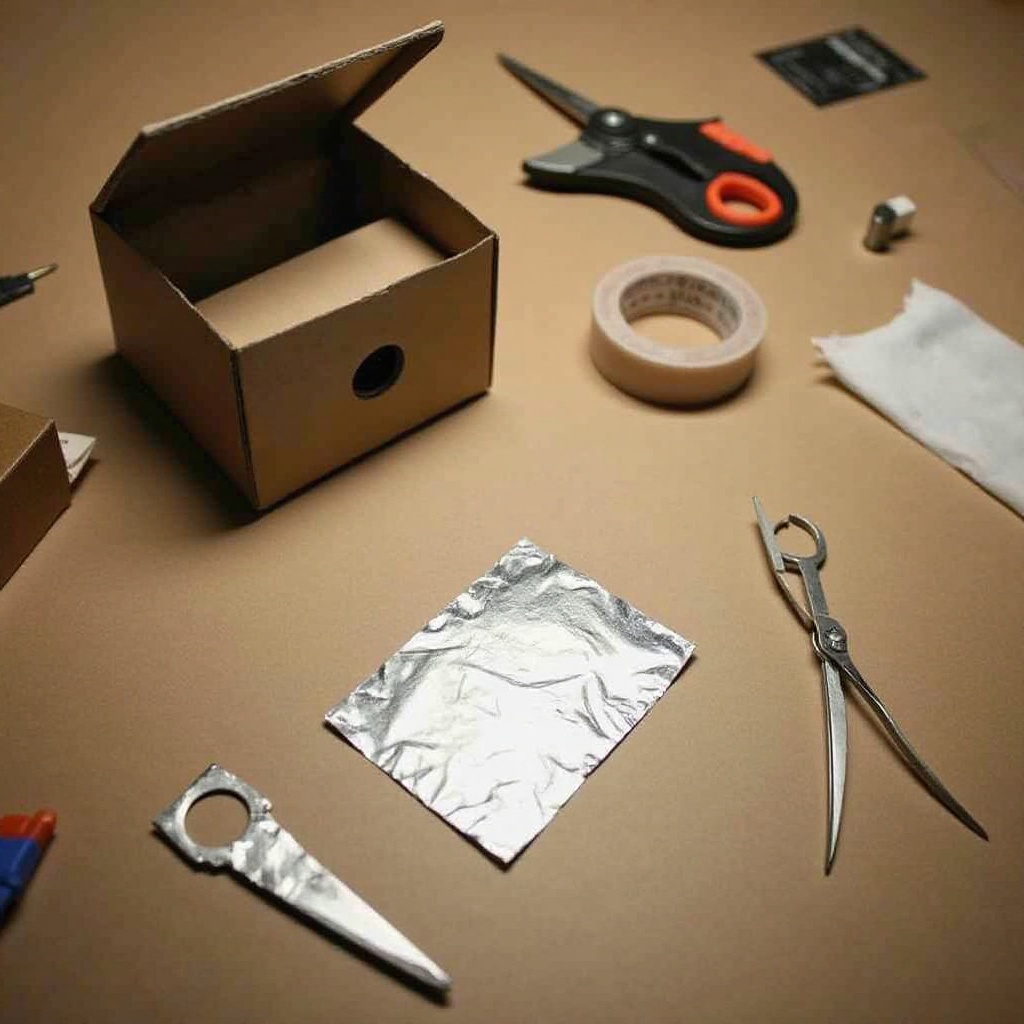
Before we dive into the construction process, gather these essential materials to build your pinhole camera:
- A light-tight container: This can be a small box, a metal can, or any other opaque container that can be sealed to keep out light.
- Aluminum foil: This will be used to create your pinhole.
- Needle or pin: To make the pinhole in the foil.
- Black tape or electrician’s tape: To seal any light leaks.
- Photographic paper or film: This will capture your image.
- Scissors or a craft knife: For cutting the foil and tape.
- Ruler and pencil: To measure and mark your components accurately.
- Dark cloth or a black garbage bag: To use as a makeshift darkroom while loading film or paper.
Step-by-Step Guide to Building a Pinhole Camera
Preparing the Camera Body
Let’s begin by preparing the camera body, which will house our pinhole and film/paper.
- Choose your container: Ensure your container is light-tight. A shoe box, a coffee can, or a small tin box can work well.
- Paint the inside black: If your container isn’t already black inside, paint it with matte black spray paint to minimize reflections inside the camera.
- Cut an aperture: On one side of the box, carefully cut a small square hole approximately 1 inch by 1 inch. This is where the pinhole will be placed.
- Create a shutter: Use black tape to create a flap over the aperture. This will act as your shutter, which you can open and close when taking photos.
Creating the Pinhole Lens
Next, we will construct the pinhole lens that will allow light to form images inside our camera.
- Cut a piece of aluminum foil: Around 2 inches by 2 inches should be enough.
- Make the pinhole: Use a needle or pin to gently puncture a small hole in the center of the foil. The hole should be very tiny, about the width of a sewing needle.
- Attach the foil: Tape the piece of foil over the aperture on the inside of the container, ensuring the pinhole is centered in the square hole.
Loading the Film or Photographic Paper
Now that we have the pinhole lens in place, it’s time to load the photographic medium that will capture the images.
- In a dark room or under a dark cloth, place your photographic paper or film opposite the pinhole inside the container. Secure it with tape if necessary.
- Seal all the seams: Use black tape to seal all seams and edges of the container to prevent light leaks. Pay special attention to the areas around the lid or openings.

Tips for Using Your Pinhole Camera
Finding the Right Lighting
Because pinhole cameras have very small apertures, they require a lot of light to expose an image properly. Bright, sunny days or well-lit indoor scenes are ideal. Be aware that low-light conditions will require much longer exposure times and can be more challenging for beginners.
Calculating Exposure Times
Exposure times for pinhole cameras can vary greatly. A good starting point is to experiment with different exposure lengths:
1. Short exposure: Start with around 5 to 10 seconds for very bright outdoor scenes.
2. Medium exposure: For cloudy days or shaded areas, try 30 to 60 seconds.
3. Long exposure: In low-light conditions or indoors, you may need exposure times of several minutes.
Troubleshooting Common Issues
- Blurry images: Ensure the camera is steady during exposure. Using a tripod or placing the camera on a stable surface can help.
- Light leaks: If your images have strange streaks or spots, check for and seal any light leaks in your camera.
- Underexposure/overexposure: If images are too dark or too light, adjust your exposure times accordingly. Keep experimenting to find the right balance.
How to Develop Photos from a Pinhole Camera
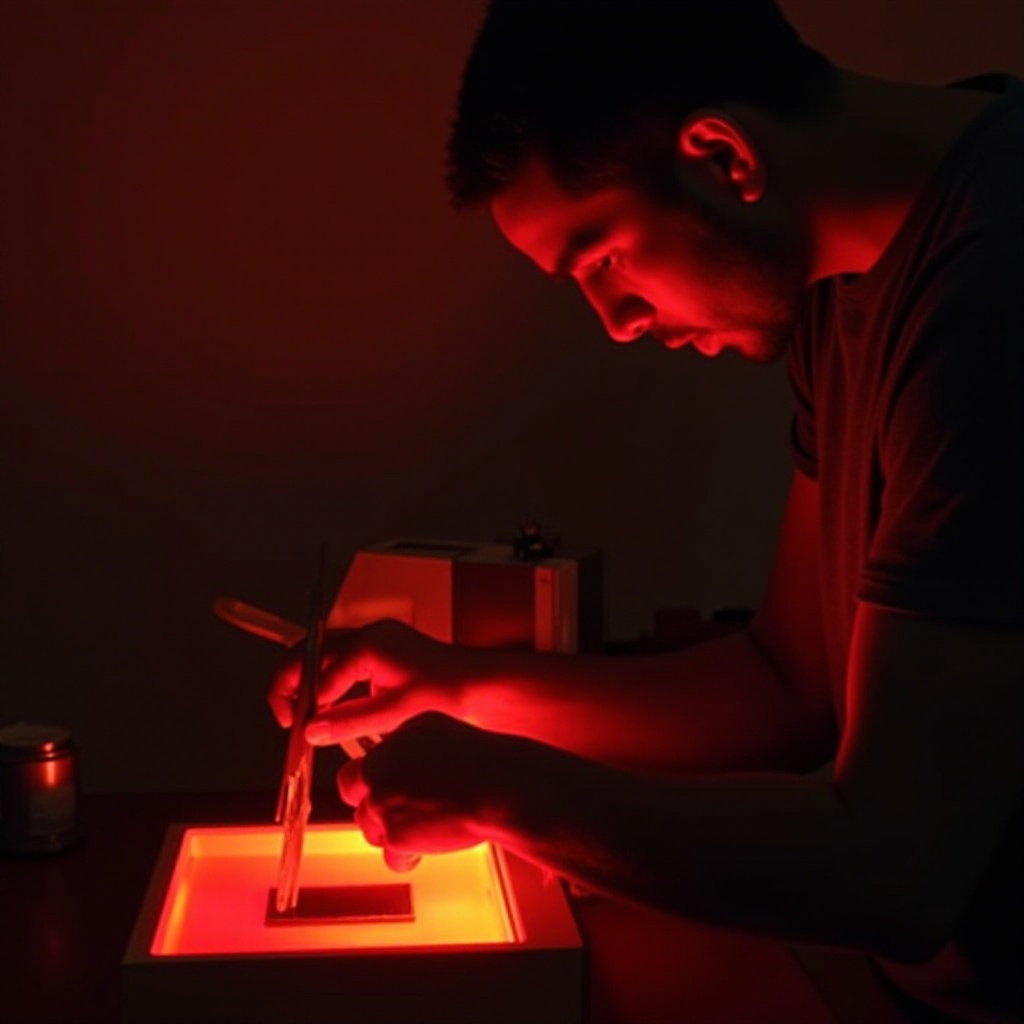
To develop your photos, you’ll need access to a darkroom or development kit:
- Prepare your developing chemicals: Follow the instructions on your film or paper’s packaging.
- Develop the film or paper: Use developer, stop bath, and fixer chemicals in sequence. Typically, photographic paper needs to be in the developer for 1-2 minutes, then the stop bath for 30 seconds, and finally the fixer for 5-10 minutes.
- Rinse and dry: Rinse the developed image in water to remove any remaining chemicals and hang it up to dry.
For beginners, you can also take your film or paper to a local photo lab for development.

Conclusion
Building a pinhole camera is a rewarding project that combines creativity, science, and hands-on craft. With a few simple materials and some patience, you can create your own camera and capture unique photographs that have a timeless quality. Keep experimenting with different materials and techniques to refine your skills and enjoy the artistic journey.
Frequently Asked Questions
What kind of materials can I use for the camera body?
You can use any opaque, light-tight container such as a shoebox, metal can, or small tin. Ensure there are no light leaks.
How do I ensure there are no light leaks in my pinhole camera?
Use black tape to seal all seams and edges of your camera. Double-check and test for leaks in a dark room using a flashlight inside the box.
Can I use digital methods to develop my pinhole camera photos?
Yes, you can scan the negatives or photographic paper using a high-resolution scanner. Digital tools can then invert the negatives or enhance the images.

