Introduction
Connecting a printer to a Chromebook can initially seem daunting, but it’s actually an uncomplicated process when you follow the right steps. Whether you’re using Wi-Fi or USB, setting up your printer can be hassle-free. This guide will walk you through each method, offering clear instructions and troubleshooting tips to ensure smooth printing from your Chromebook.
Checking Printer Compatibility
Before you start, it’s crucial to ensure that your printer is compatible with your Chromebook. Most modern printers support Google Cloud Print or have built-in Wi-Fi capabilities, making the setup process easier.
- Google Cloud Print: Older models that support Google Cloud Print will indicate this feature on the packaging or in the printer’s manual.
- Wi-Fi Connectivity: Modern printers usually have Wi-Fi Direct or a similar feature to connect wirelessly.
- USB Connection: Almost all printers can connect via USB. Ensure your Chromebook has the necessary port or that you have an appropriate adapter.
Confirming compatibility upfront saves time and prevents frustration during the setup.
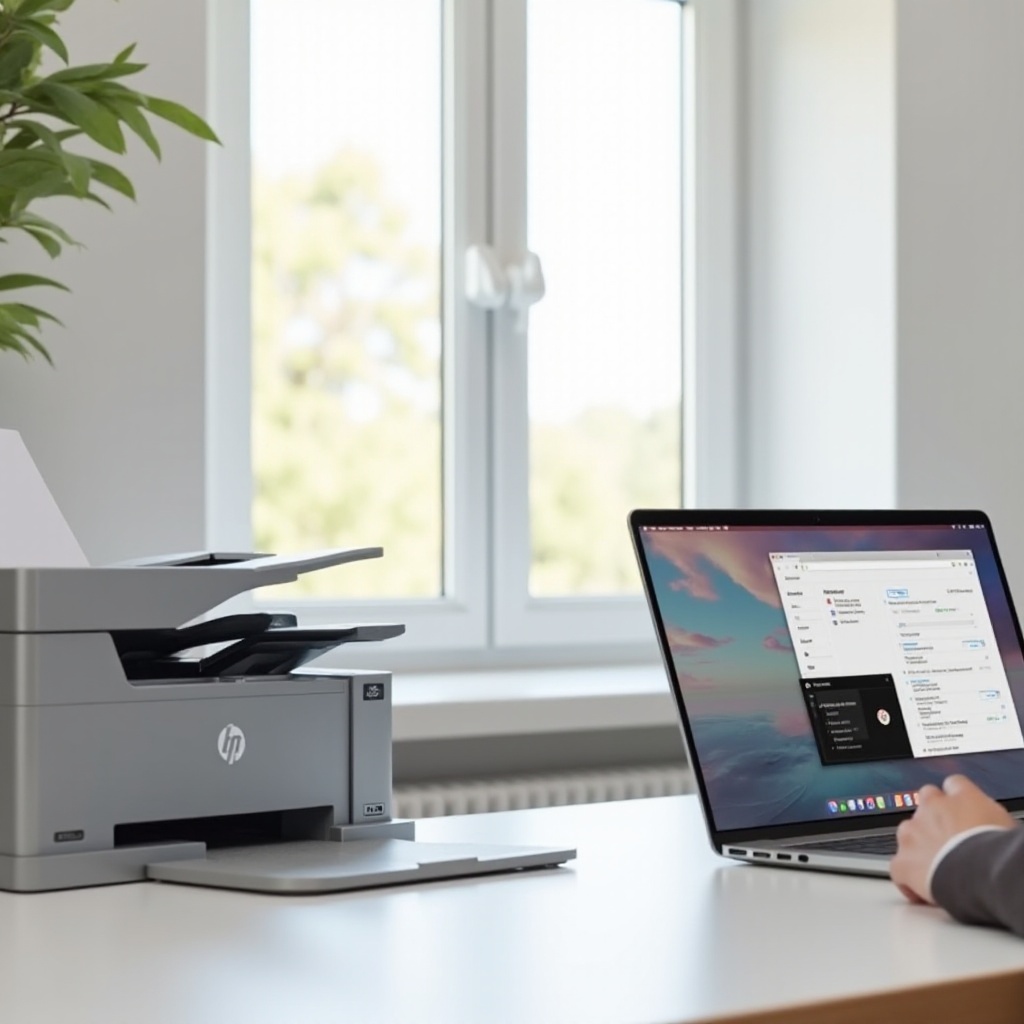
Connecting via Wi-Fi
Gathering Network Information
Begin by gathering the necessary network information, like your Wi-Fi network name (SSID) and password. This information will help you connect your printer to the network.
Connecting the Printer to Wi-Fi
- Turn on your Printer: Power up your printer and prepare it for setup.
- Access the Network Setup Menu: Usually accessible through the printer’s control panel. Look for a wrench or settings icon.
- Select Wi-Fi Setup: Choose the Wi-Fi setup wizard or network setup option.
- Choose your Network: Select your Wi-Fi network from the list of detected networks.
- Enter Password: Input your Wi-Fi password when prompted. Confirm and wait for the printer to connect.
Adding the Printer on Chromebook
- Open Chromebook Settings: Click on the time in the bottom-right corner, then the gear icon for settings.
- Advanced Settings: Scroll down and expand the Advanced settings.
- Printers: In the Printing section, click on Printers.
- Add Printer: Your printer should appear in the list. Click Add or Set up.
Your Chromebook is now ready to print via Wi-Fi!

Connecting via USB
Required Hardware and Software
Ensure you have the necessary hardware:
– A compatible USB cable.
– A USB adapter, if your Chromebook requires one.
Step-by-Step Guide
- Turn on your Printer: Power it up and ensure it’s ready.
- Connect the USB Cable: Plug one end into your printer and the other into your Chromebook or adapter.
- Open Settings: Access your Chromebook’s settings panel.
- Navigate to Printers: Locate the Printers section within the advanced settings.
- Set Up: Your Chromebook should recognize the printer automatically. Follow the on-screen prompts to complete the setup.
Troubleshooting USB Connection Issues
- Reboot Both Devices: A simple restart can sometimes resolve connection issues.
- Check Cable: Ensure the USB cable is securely connected and not damaged.
- Update Drivers: Chromebooks usually handle this automatically, but you can check for printer firmware updates to solve some issues.
Using Printer Apps
Overview of Popular Printer Apps
Many printer manufacturers offer apps to facilitate printing. Some popular ones include:
– HP Print for Chrome
– Epson iPrint
– Brother iPrint&Scan
These apps often provide additional features like scanning and printer status monitoring.
Installing and Configuring Printer Apps
- Visit the Chrome Web Store: Search for the app corresponding to your printer brand.
- Install the App: Click Add to Chrome, and the app will be installed.
- Open and Configure: Follow the app-specific instructions to connect your printer, which typically involves entering your printer’s model and network information.
Printing Documents via Apps
- Open the Document: Use the app to open the document you wish to print.
- Select Print Options: Choose your preferred print settings.
- Print: Click Print, and your document should start printing.
Using apps can simplify printing and offer more control over print settings.
Troubleshooting Tips
Common Connectivity Issues
- Printer Not Detected: Ensure the printer is turned on and connected properly.
- Network Problems: Verify that both your Chromebook and printer are on the same network.
- Driver Issues: Ensure any required drivers or firmware are up to date.
Checking Printer Status and Network Connection
- Printer Status: Ensure there are no error messages or alerts on the printer’s screen.
- Network Connection: Verify the printer is connected to the correct Wi-Fi network.
- Printer Queue: Check if the print job is stuck or paused in the Chromebook’s print queue.
Additional Support Resources
If issues persist, refer to the printer’s manual or the manufacturer’s support website. Many brands offer live chat or phone support for more complicated problems.
Conclusion
Connecting a printer to your Chromebook, whether through Wi-Fi or USB, is straightforward if you follow the right steps. By ensuring compatibility, following detailed instructions for different connection methods, and knowing where to find troubleshooting tips, you can enjoy hassle-free printing with your Chromebook.
Frequently Asked Questions
Why is my Chromebook not detecting my printer?
Your Chromebook may not detect your printer if they are not on the same network or if the printer is not properly connected. Check your network settings and connections.
How do I update my printer firmware?
You can usually update the printer firmware through the printer’s control panel or by visiting the manufacturer’s support website for firmware updates.
Can I print from my Chromebook without an internet connection?
Yes, you can print using a direct USB connection or through Wi-Fi Direct if your printer supports it. No internet connection is required for these methods.