Introduction
Replacing the hard drive in your MacBook Pro can significantly boost its performance and storage capacity. Whether you’re dealing with a failing drive or simply upgrading to a faster SSD, this guide provides all the steps needed to ensure a successful replacement without data loss. Let’s dive into preparing for the replacement, ensuring a smooth transition.

Preparing for the Replacement
Before you start replacing your hard drive, you need to have a backup of your data and the necessary tools ready.
– Backing Up Your Data: It’s crucial to secure your data to prevent any loss. Use Time Machine, an external drive, or cloud storage to create a comprehensive backup.
– Gathering the Necessary Tools: You’ll need a precision screwdriver set, ideally a T5 or P5 Pentalobe screwdriver, a plastic spudger, and an anti-static wrist strap to protect against static discharge during the process.
Once you’ve secured your data and gathered your tools, it is time to choose an appropriate replacement drive for your MacBook Pro.
Choosing the Right Replacement Drive
Selecting the right hard drive is critical for your MacBook Pro’s performance and functionality.
– Types of Drives Compatible with MacBook Pro: The main choices are Hard Disk Drives (HDDs) or Solid State Drives (SSDs). While HDDs are economical, SSDs offer faster access speeds and improved durability.
– Selecting the Best Drive for Your Needs: Consider your storage requirements, speed preferences, and budget. Reputable brands like Samsung and Crucial offer reliable SSD models to consider.
After selecting the perfect drive, the next crucial step is the physical replacement. Follow these instructions with care.
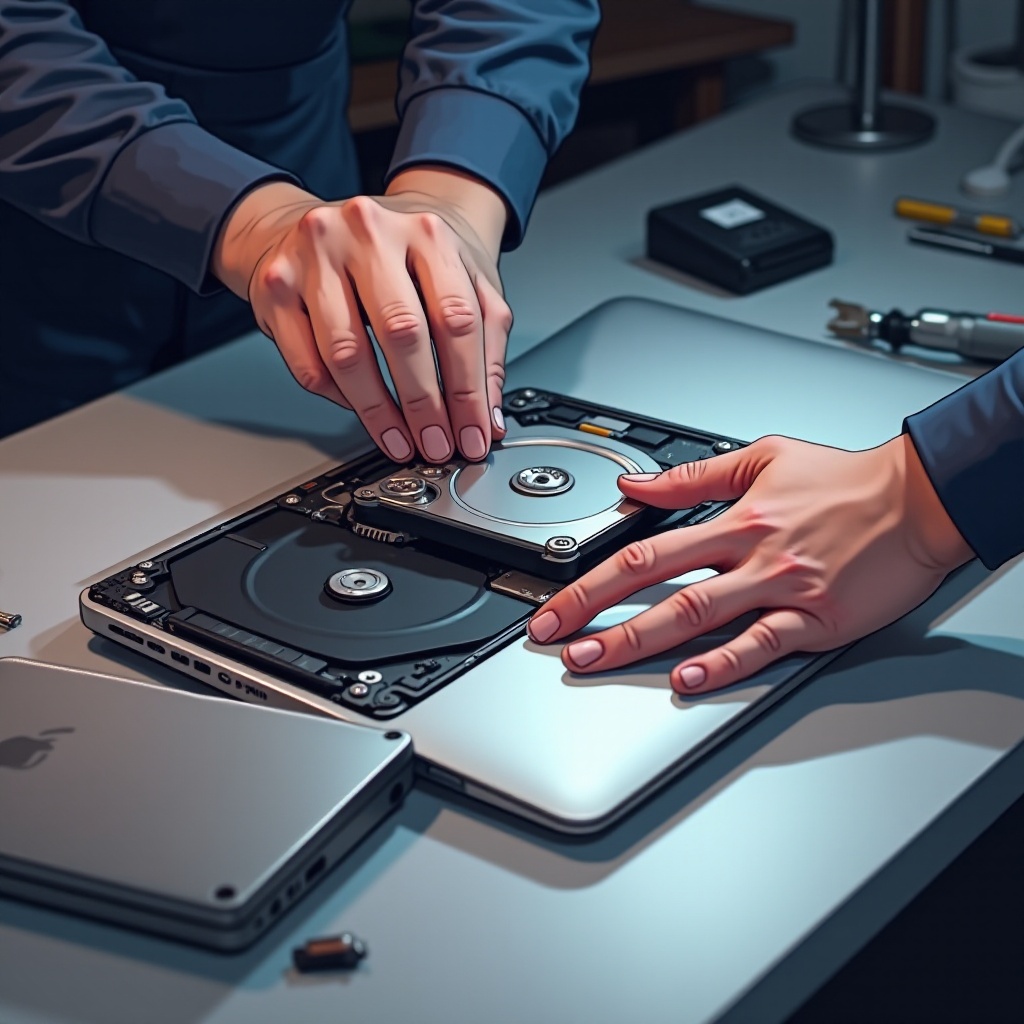
Step-by-Step Replacement Process
Replacing the hard drive involves precise steps to ensure success.
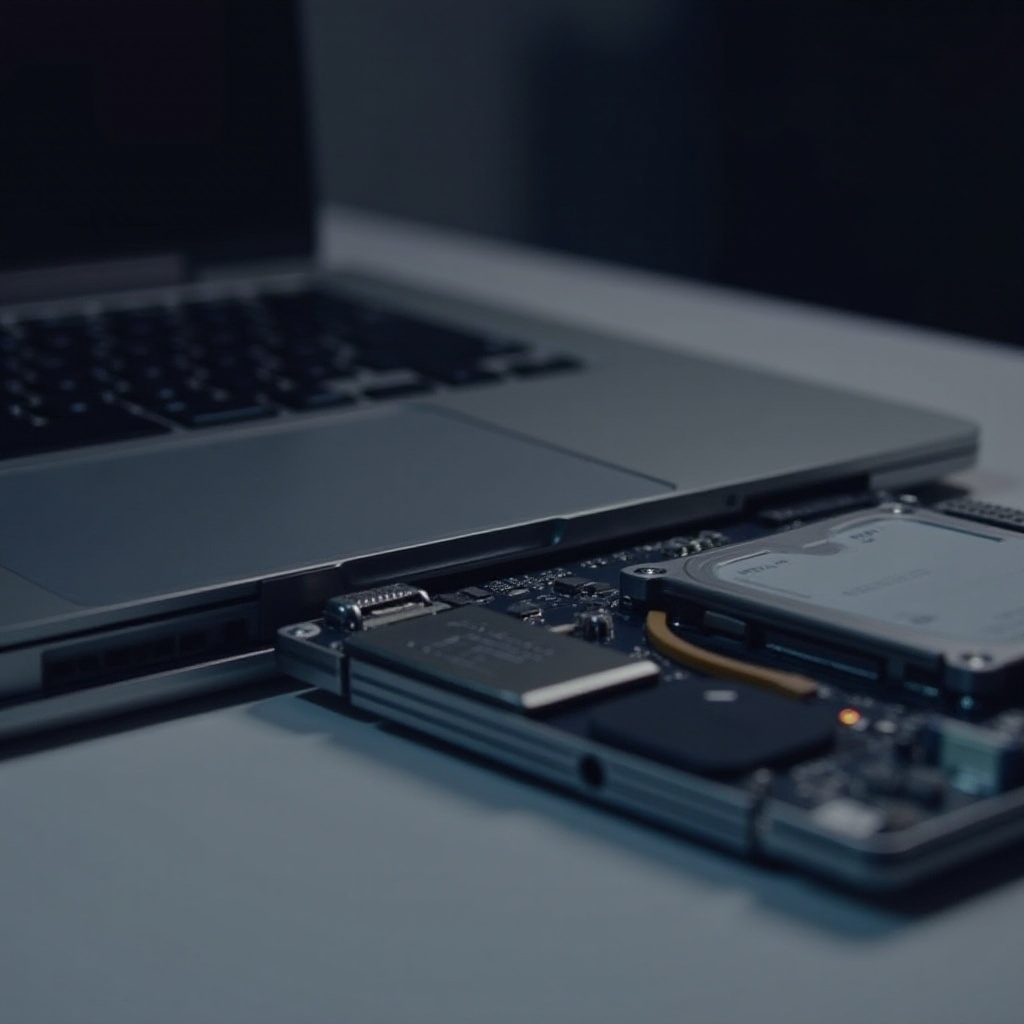
1. Opening Your MacBook Pro: Power off and disconnect all peripherals from your MacBook. Turn the case over and remove the screws on the back panel using your screwdriver. Carefully lift the panel.
2. Removing the Old Hard Drive: Locate the existing hard drive, disconnect the ribbon cable, and unscrew any brackets or holders. Gently remove the drive from its bay.
3. Installing the New Hard Drive: Place the new drive into the slot, align connectors properly, and secure it with screws. Reattach the ribbon cable and back panel, securing everything tightly.
With your new drive installed, your MacBook’s internal setup is complete. Next, focus on software setup and data restoration to fully integrate the drive.
Setting Up Your New Hard Drive
Following physical installation, ensure your new hard drive operates correctly and restore your data.
– Restoring Your System: Start your MacBook in Recovery Mode by pressing Command + R. Use Disk Utility to format the new drive. Then, restore your operating system and files using your backup.
– Verifying Installation and Performance: Utilize tools like Smart Utility or DriveDx to monitor your drive’s health. Confirm the drive is recognized and functioning smoothly by your system.
This seamless integration of the new drive completes your upgrade, enhancing your MacBook Pro’s performance and storage capabilities.
Conclusion
Replacing a MacBook Pro’s hard drive is a practical approach to enhancing performance and expanding storage. By following these carefully outlined steps, you can confidently complete the upgrade while safeguarding your data.
Frequently Asked Questions
Can I replace the hard drive in any MacBook Pro model from 2024?
Yes, most 2024 models support SSD upgrades. Check your specific model for compatibility.
What should I do if my MacBook Pro doesn’t recognize the new hard drive?
Ensure all connections are tight, the drive is properly formatted, and retry booting in Recovery Mode.
How often should I replace my MacBook Pro’s hard drive?
SSDs typically last long; replace them if performance drops or storage needs increase significantly.